Here is one of the project I did yesterday - Christmas Decorative Wreath!
Materials:
Felt: dark green, light green, red (or pink!)
x 1 embroidery hoop - size is up to you - I used an 8" diameter
x 15 pinboard pins (those with a ball shape top)
Glue gun (can't live without it!)
A pair of scissors
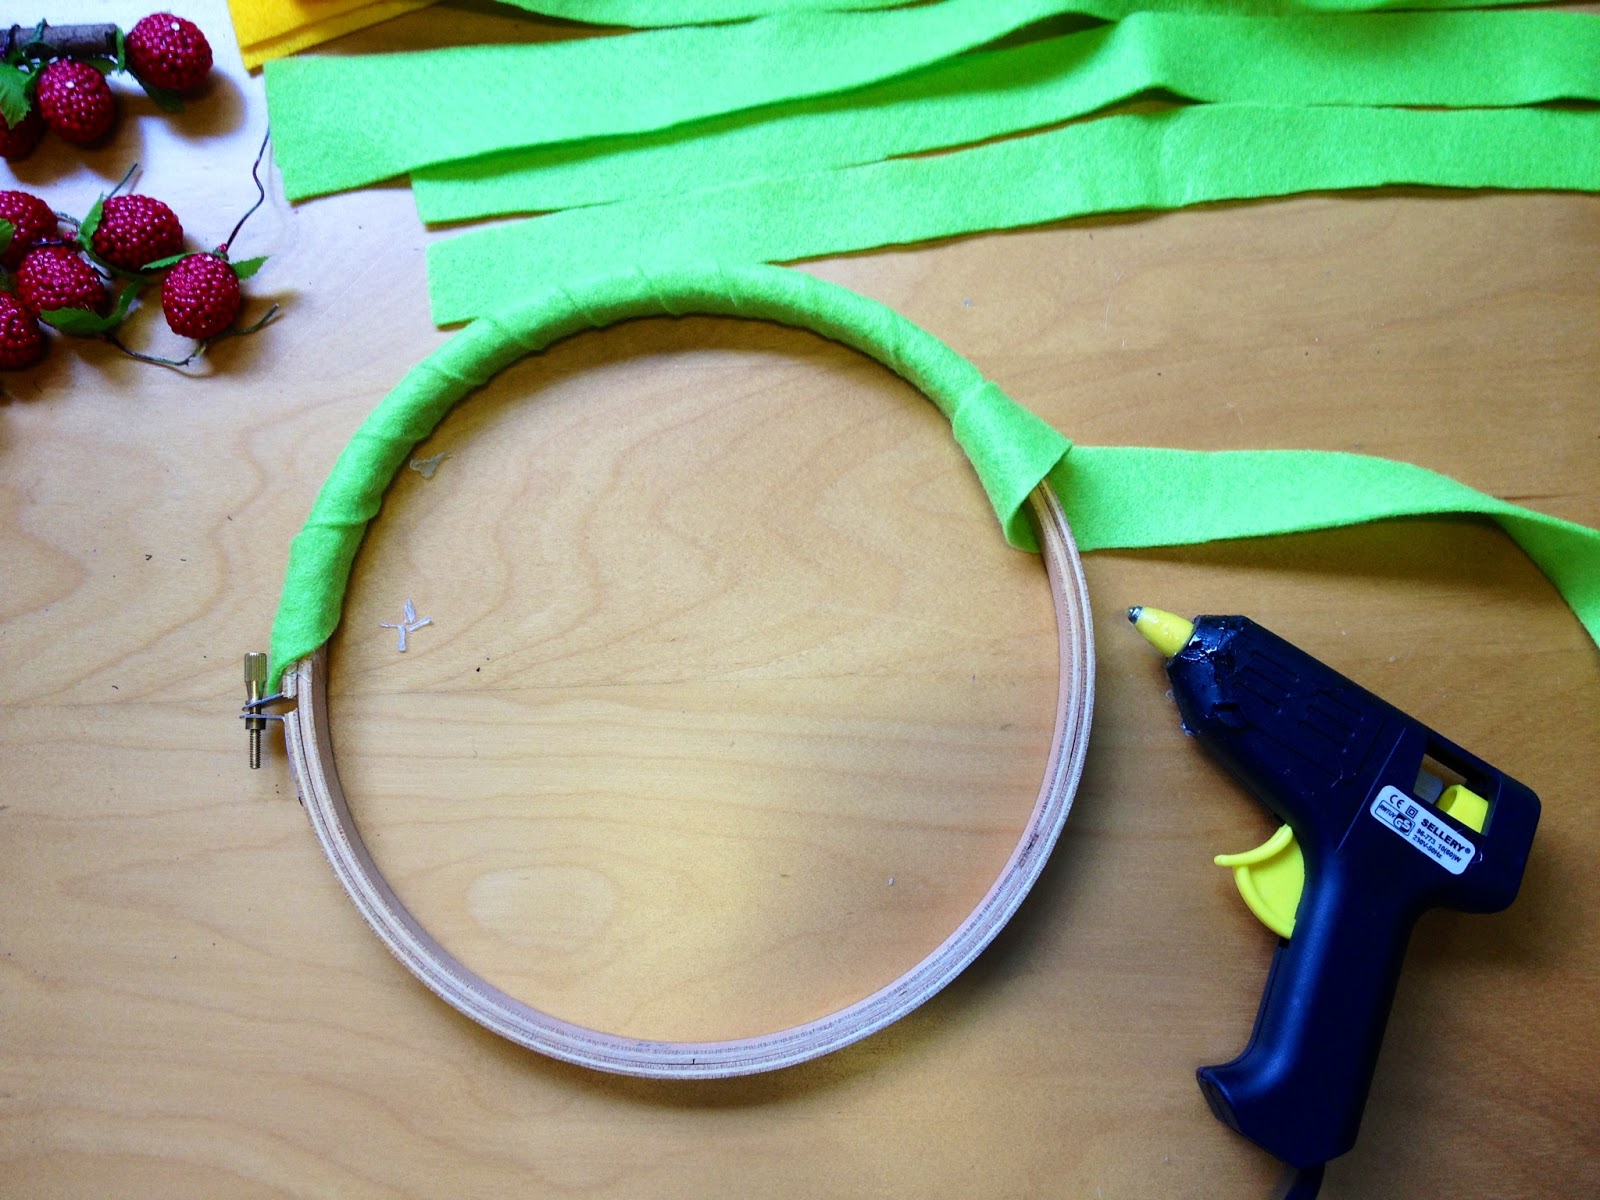
Cut out the felt in stripes - approximately 2.5 cm x 50 cm
You will need around 4-5 stripes depends on the size of your embroidery hoop.
I choose a bright light green felt, so that the colour will reveal for the area that is not covered by the leaves (which you will glue next) to create a colour contrast.
Use the hot glue gun and put the glue on the OUTSIDE and INSIDE of the embroidery hoops (the sides do not require) then attach the felt stripe around it
Tips: Don't try to put the glue around the whole hoop, do it bit by bit as the glue dries out quickly!
Cut out the felt (darker green) in leave shape, visually it will look nicer if the leaves are small, slim and elongated, however the smaller the leaves, the longer it requires to cover the whole embroidery hoop!
I put a little bit of glue on the tip of each leave and glue it immediately onto the wreath.
Tips: Don't put glue onto the felt stripe because you want to get it done quickly! You don't want the glue to be seen!
About 30 minutes later, you have the whole wreath covered with leaves.
(You probably are amazed by your patience! I did!)
Once you completed covering the wreath with leaves, put it aside.
(Have a coffee break! You are half way there!)
The next step will be cutting out the felt for the flower petals.
Choose a colour felt that creates a good contrast with the leaves.
This time, you can cut them slightly bigger than the leaves (you need about 70 pieces) again keep it slim and long.
Cut a round circle from the dark green felt (i.e. the same colour felt you used for the leaves) which will act as the "base"
Glue the flower petals onto the "base", all the pointy bits touching the middle.
Dont worry if they do not overlap well.
Repeat the same steps and make five lovely Christmas flowers.
Put some glue on the back of the "base" and glue the flowers onto the wreath.
Then use the ball shape pins to poke through the center of each flower, where the pointy bits meet.
Attach a string onto the top of the embroidery hoop (there is a gold metal bit where you can attach with)
Tah - Dahhhhh! You have it! Hope you enjoy this tutorial!
Merry Christmas everyone!!!
I used it to decorate my sales corner at the lovely cafe Orange Thimble